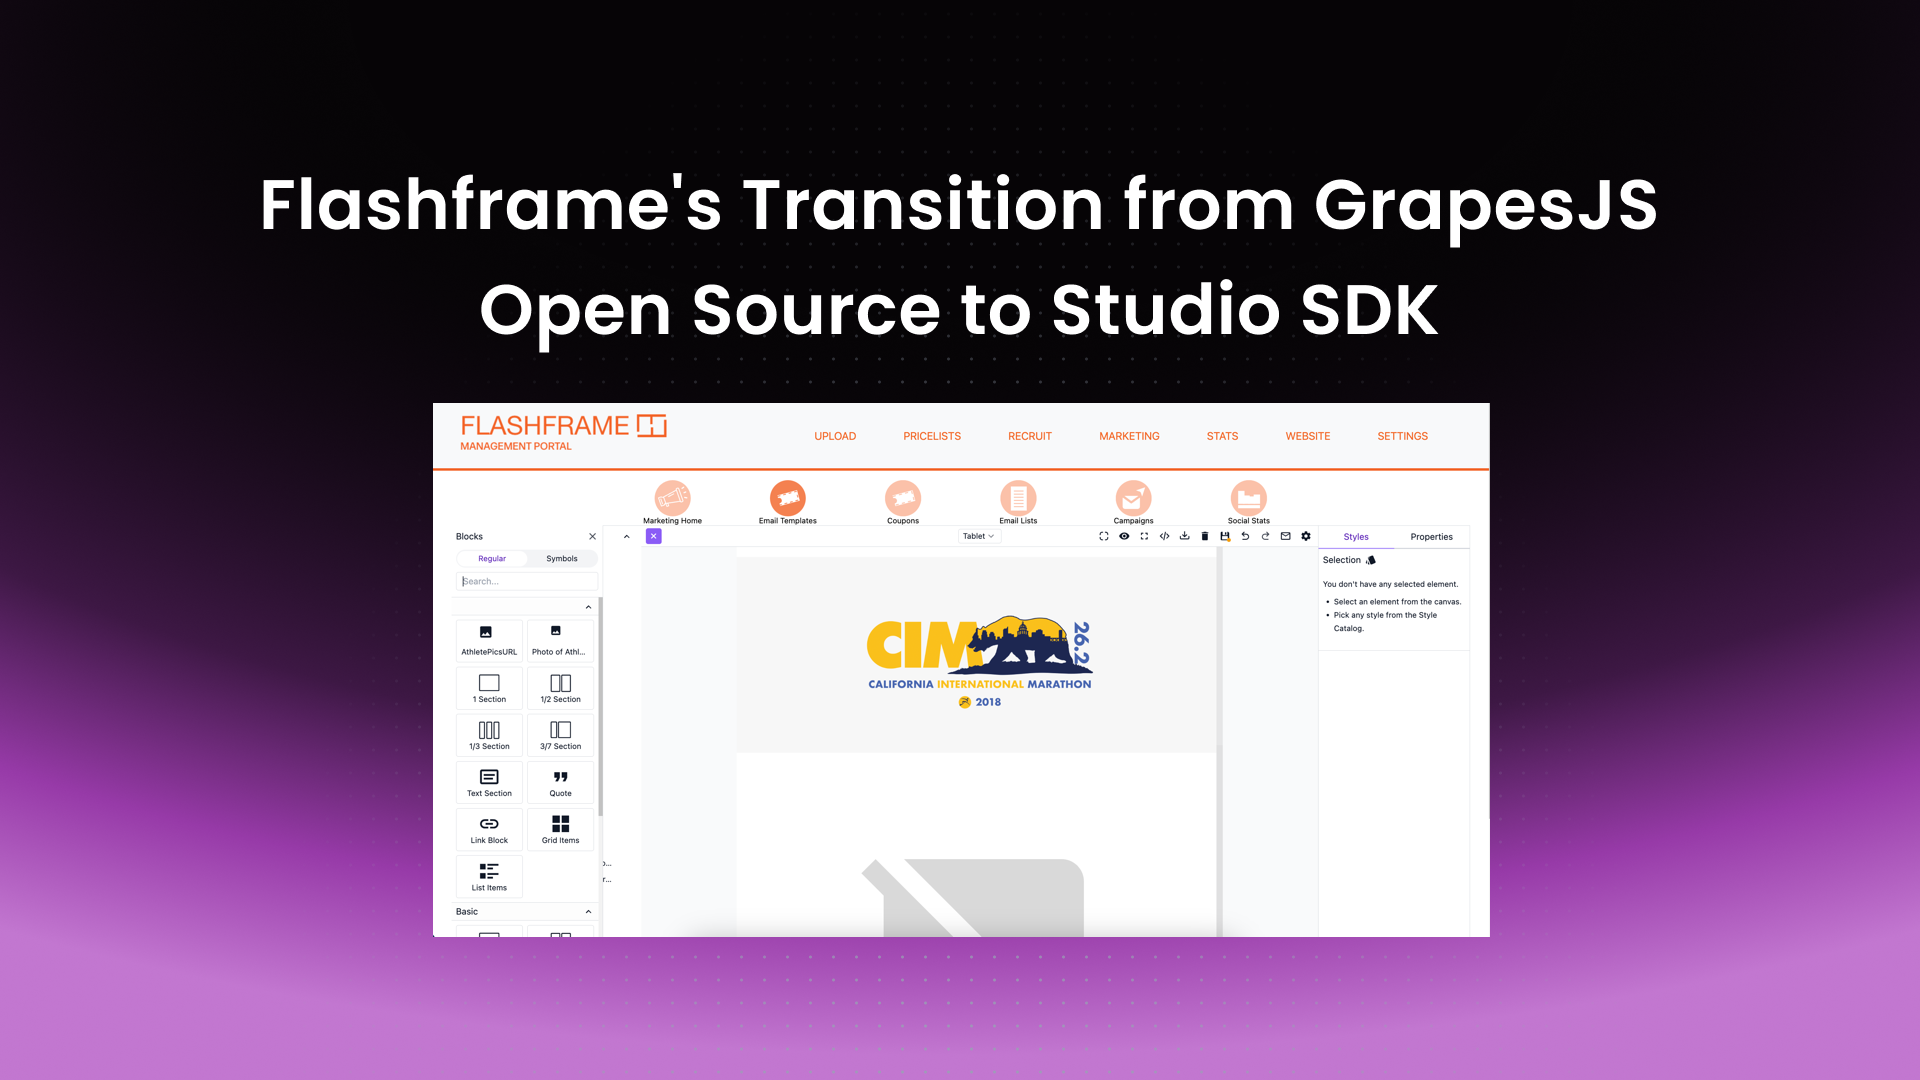
In this post, I'll walk you through the journey of Flashframe, a photography hosting platform, moving from the open-source version of GrapesJS implementation to the robust Grapes Studio SDK. They had been using the open source version of GrapesJS for an internal email tool for over five years, and made the transition after seeing the new functionality offered by the studio SDK. This transition allowed me to streamline asset management, enhance the editor's functionality, and simplify integrations. Below are the old and new code snippets to help you compare and contrast the differences between the two versions.
Step 1: Initializing the Editor
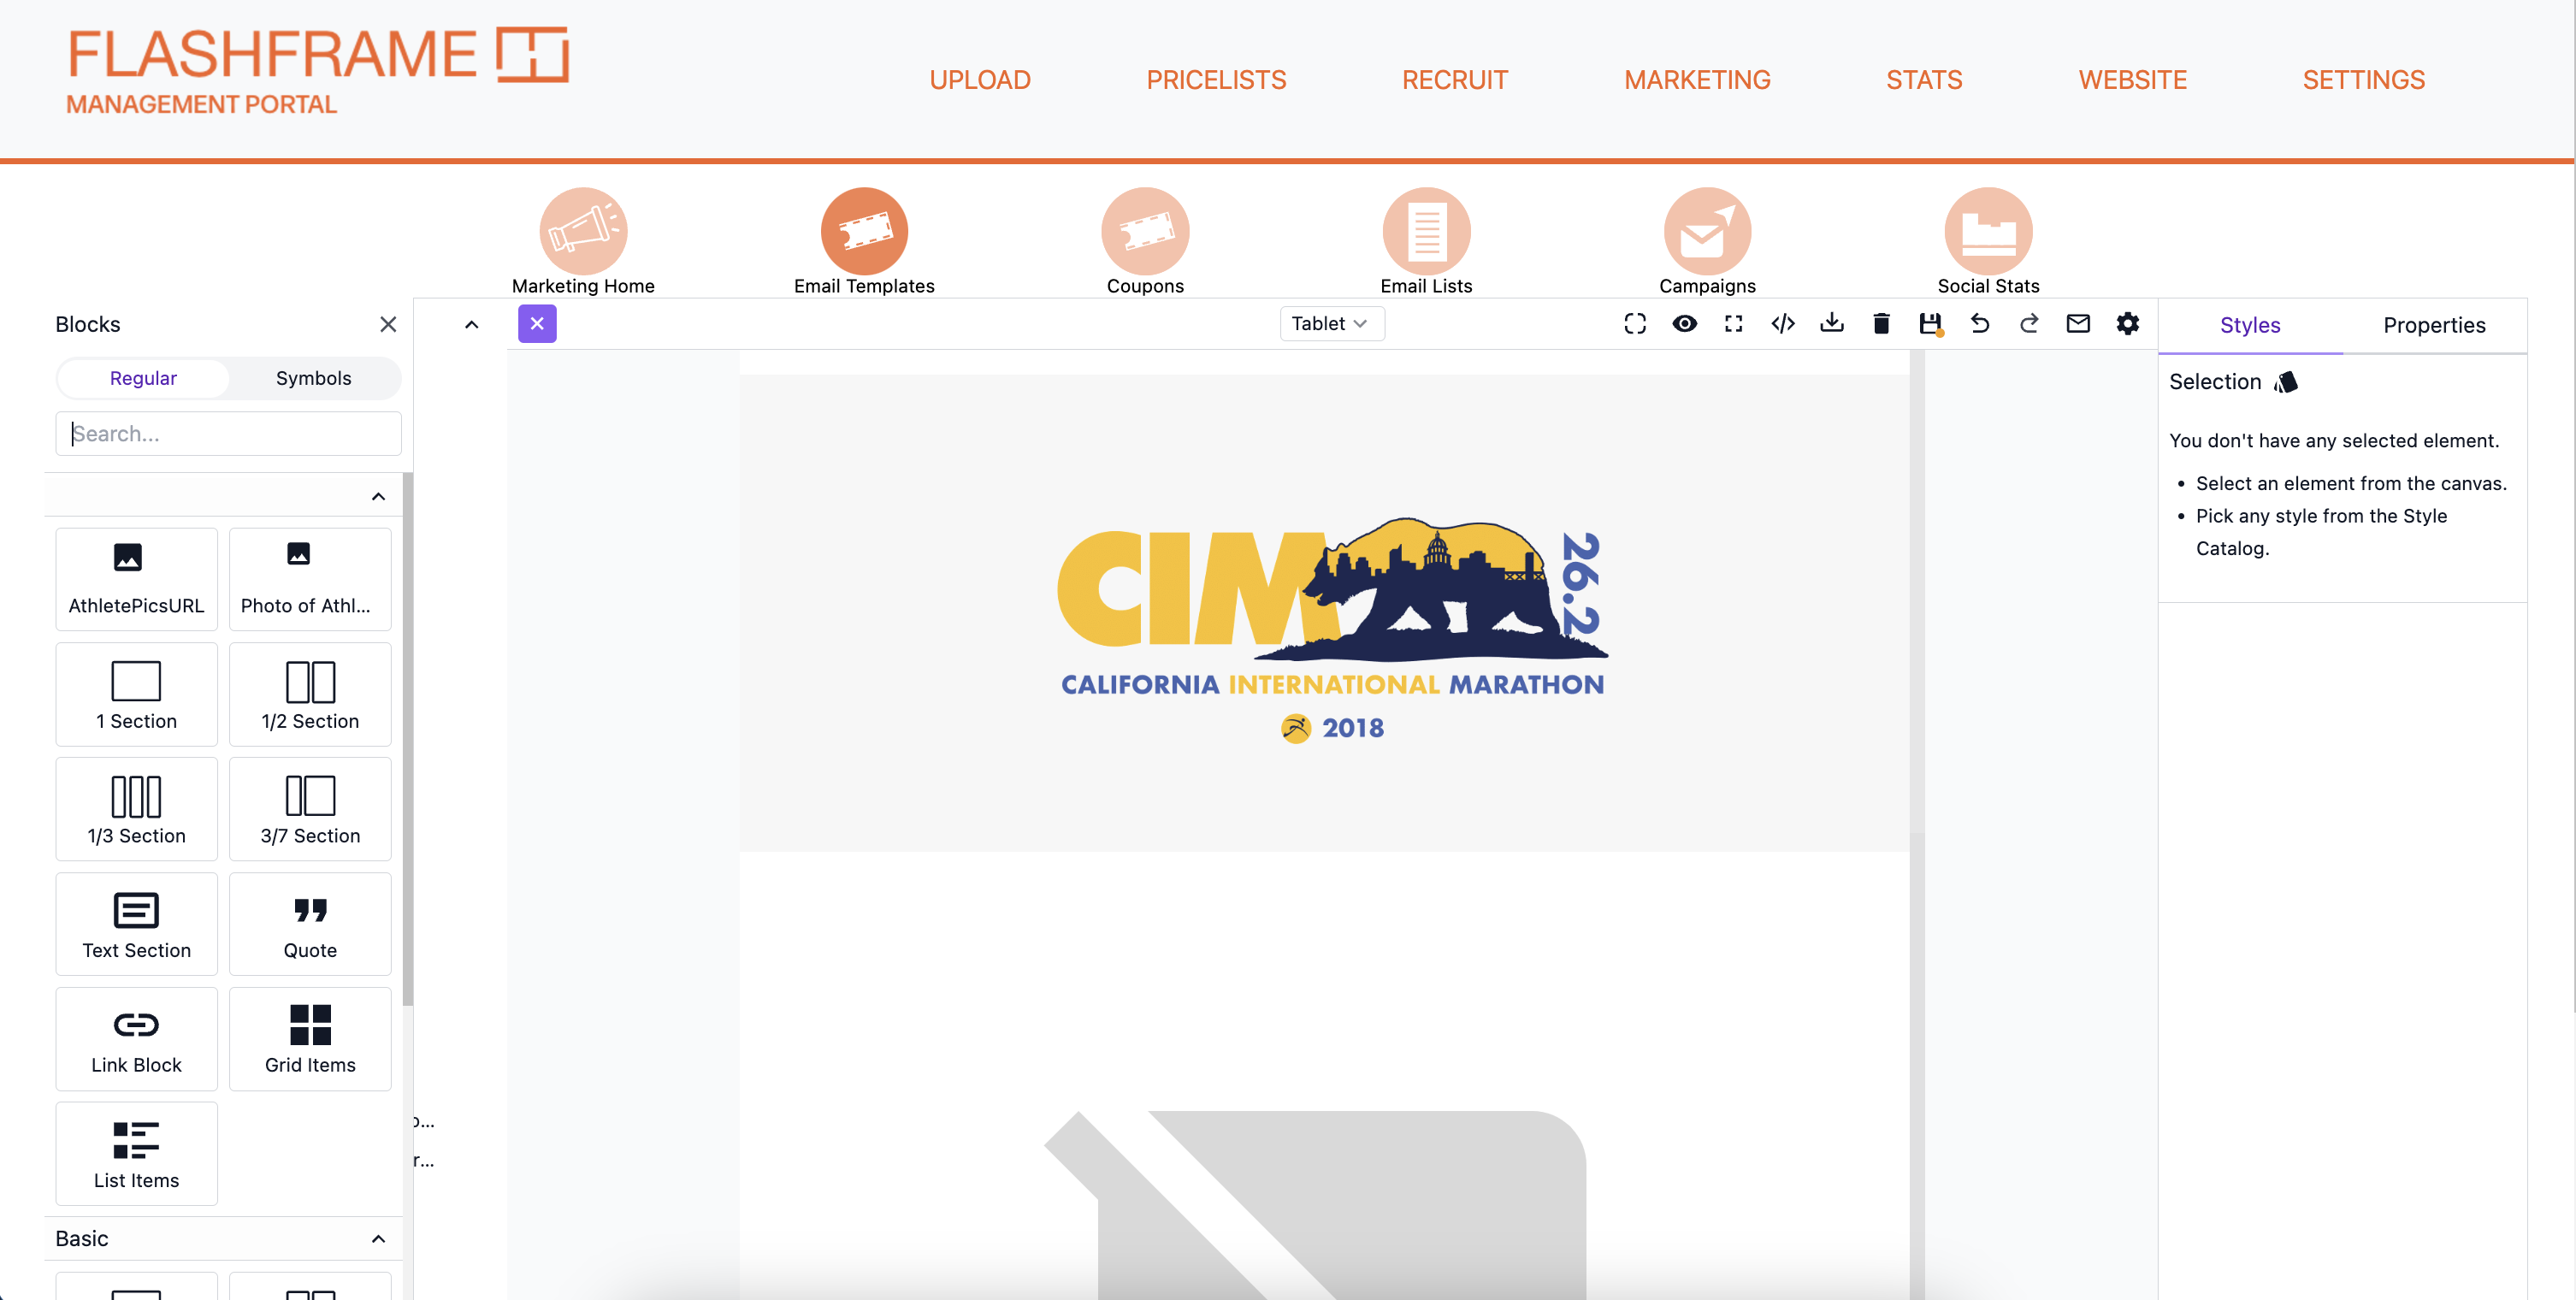
The most notable thing about the initialization was that Flashframe was using the web editor for email editing. For email, we highly recommend specific email version that creates templates in MJML. However, it would be difficult for Flashframe to change this because they were saving the templates as HTML, and they needed backward compatability. They also needed to inline all the CSS directly back into the HTML. They were able to do so by using the grapesjs-preset-newsletter plugin. This is again not recommended, and its best to save the JSON of the HTML and CSS, rather than inlining as it preserves editing functionality that will be lost when inlining the HTML.
Old Code:
var editor = grapesjs.init({
  container: '#gjs',
  clearOnRender: true,
  plugins: ['gjs-preset-newsletter'],
  pluginsOpts: {
    'gjs-preset-newsletter': {
      modalTitleImport: 'Import template',
      inlineCss: true,
    },
  },
  assetManager: {
    upload: '/api/asset/',
    uploadName: 'profile_picture',
  },
  storageManager: {
    type: 'remote',
    autosave: false,
    stepsBeforeSave: 10,
    urlStore: '/api/email/',
    urlLoad: '../drip_emails/sell_products.html',
  },
});
New Code:
GrapesJsStudioSDK.createStudioEditor({
  root: '#gjs',
  licenseKey: 'license-key',
  project: { type: 'web' },
  gjsOptions: {
    pluginsOpts: {
      'grapesjs-preset-newsletter': {
        modalTitleImport: 'Import template',
        inlineCss: true,
      },
    },
  },
  plugins: [
    'grapesjs-preset-newsletter',
    editor => editor.Panels.getPanels().reset([]),
  ]
});
Step 2: Handling Asset Management
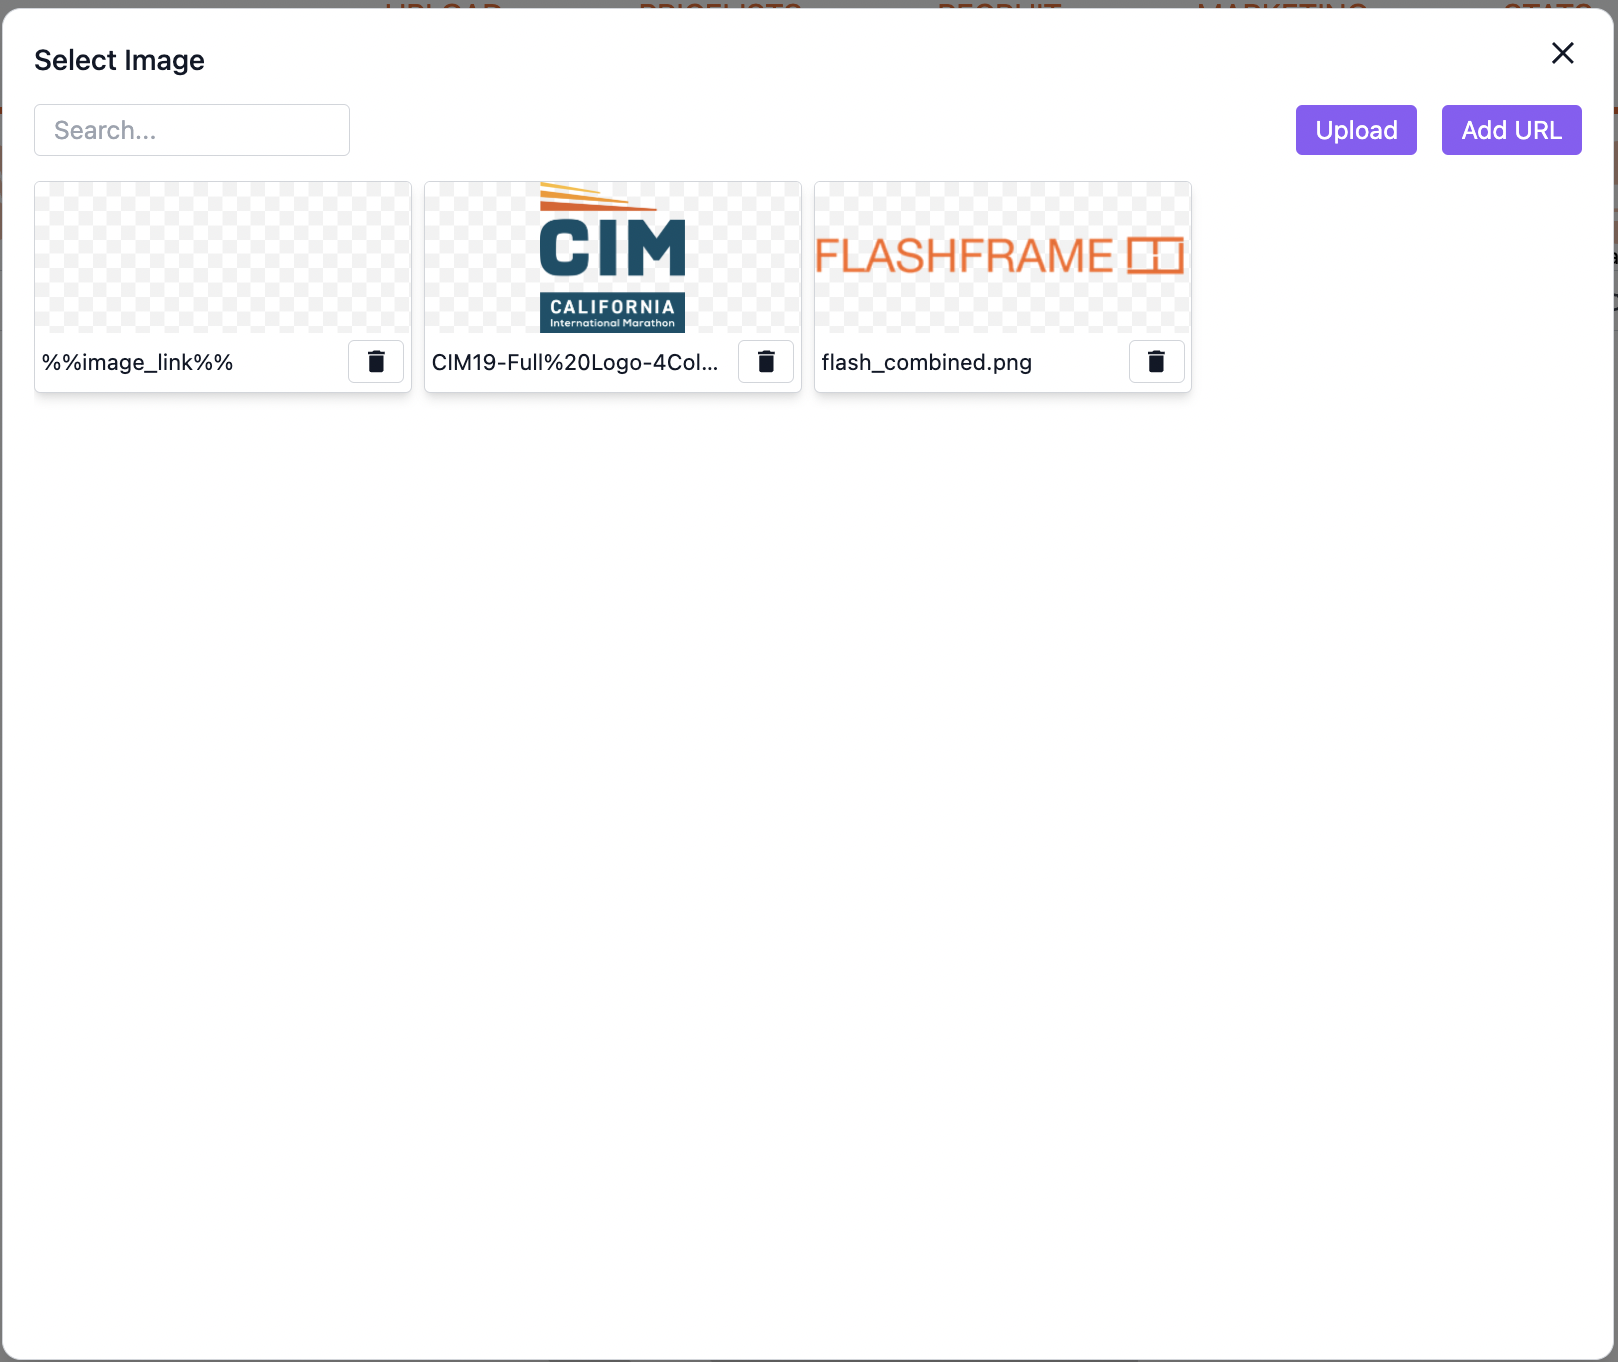
Flashframe was able to leverage the same endpoints they had for asset management, the SDK editor breaks out upload, onLoad and onDelete into separate functions, which allows you to take specific actions. This was overall a simple switch for their team. They were able to utilize the built in asset manager and storage functions and point to their respective endpoints to make this conversion quickly.
assets: {
  storageType: 'self',
  onUpload: async ({ files }) => {
    const body = new FormData();
    files.forEach(file => body.append('image', file));
    const response = await fetch('/api/asset/', { method: 'POST', body });
    return await response.json();
  },
  onLoad: async () => {
    const response = await fetch('/api/asset/');
    const result = await response.json();
    return result.map(asset => ({ id: asset.id, src: asset.image }));
  },
  onDelete: async ({ assets }) => {
    const assetId = assets[0]?.attributes?.id;
    await fetch(`/api/asset/${assetId}/`, { method: 'DELETE' });
  },
},
Step 3: Custom Buttons and Functions
Flashframe had a custom button in their open source version which allowed the user to send a draft test email to themselves. It would take the current HTML send it to a custom endpoint, fill in any custom variables, and then email it to the user. This was formerly done by the editor, its now done by editing the layout via the layout system and defining an onClick function.
Old Code:
editor.Panels.addButton('options', {
  id: 'send-test',
  className: 'fa fa-paper-plane',
  command: 'send-test',
  attributes: {
    'title': 'Test Email',
    'data-tooltip-pos': 'bottom',
  },
});

editor.Commands.add('send-test', {
  run: function(editor, sender) {
    console.log(editor.runCommand('gjs-get-inlined-html'));
    sender && sender.set('active'); // turn off the button
    $.ajax({
      url: "/api/testemail/?access_token="+localStorage.access_token,
      method: "POST",
      data: {'gjs-html':editor.runCommand('gjs-get-inlined-html'), 'title':$('#etitle').val()},
    })
    .done(function() { console.log('done') })
    .fail(function() { alert( "error" ) });
  }
});
New Code:
layout: {
  default: {
    type: 'row',
    height: '100%',
    children: [
      {
        type: 'sidebarLeft',
        children: { type: 'panelLayers', header: { label: 'Layers' } }
      },
      {
        type: 'canvasSidebarTop',
        grow: true,
        sidebarTop: {
          rightContainer: {
            buttons: ({ items }) => [ ...items, {
              icon: 'emailOutline',
              onClick: ({ editor }) => {
                $.ajax({
                  url: "/api/testemail/?access_token="+localStorage.access_token,
                  method: "POST",
                  data: {'gjs-html':editor.runCommand('gjs-get-inlined-html'), 'title':$('#etitle').val()},
                })
                .done(function() { console.log('done') })
                .fail(function() { alert( "error" ) });
              },
            }],
          },
        },
      },
      { type: 'sidebarRight' },
    ],
  },
},
Step 4: Custom Blocks
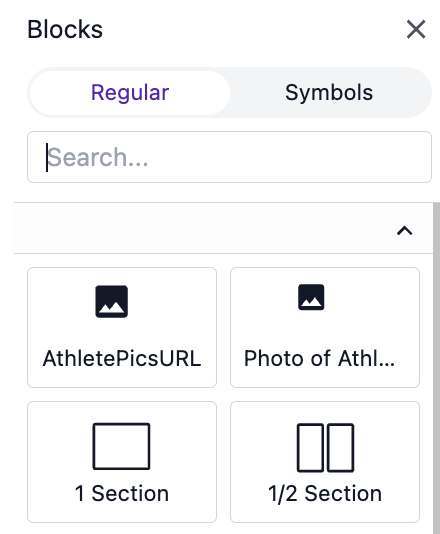
Flashframe had two custom blocks they needed to port over to the open source version. This was another simple switch as they were able to copy the their old code into the proper place within the SDK, they were able to leverage the layout system and panel blocks to make this happen.
Old Code:
var blockManager = editor.BlockManager;

blockManager.add('Photo-Image', {
  label: 'Insert Participant Photo',
  content: '<img src="%%image_link%%">',
});
New Code:
gjsOptions: {
  blockManager: {
    blocks: [
      {
        id: 'photo-participant',
        label: 'Photo of Athlete',
        content: '<img src="%%image_link%%">',
      },
    ],
  },
},
Overall it was relatively simple switch for the Flashframe team that allowed them to make huge jumps in the UI and UX of their website, but also bring all of their custom functionality over as well. It took the Flashframe team about one day of development time with one developer to make the transition. I want to thank the Flashframe team for allowing us to see their code and understand how their transition went.