AI Chat Plugin for Studio SDK
If you are looking for a practical way to integrate AI into a visual editor, the new AI Chat plugin gives you a clean starting point.
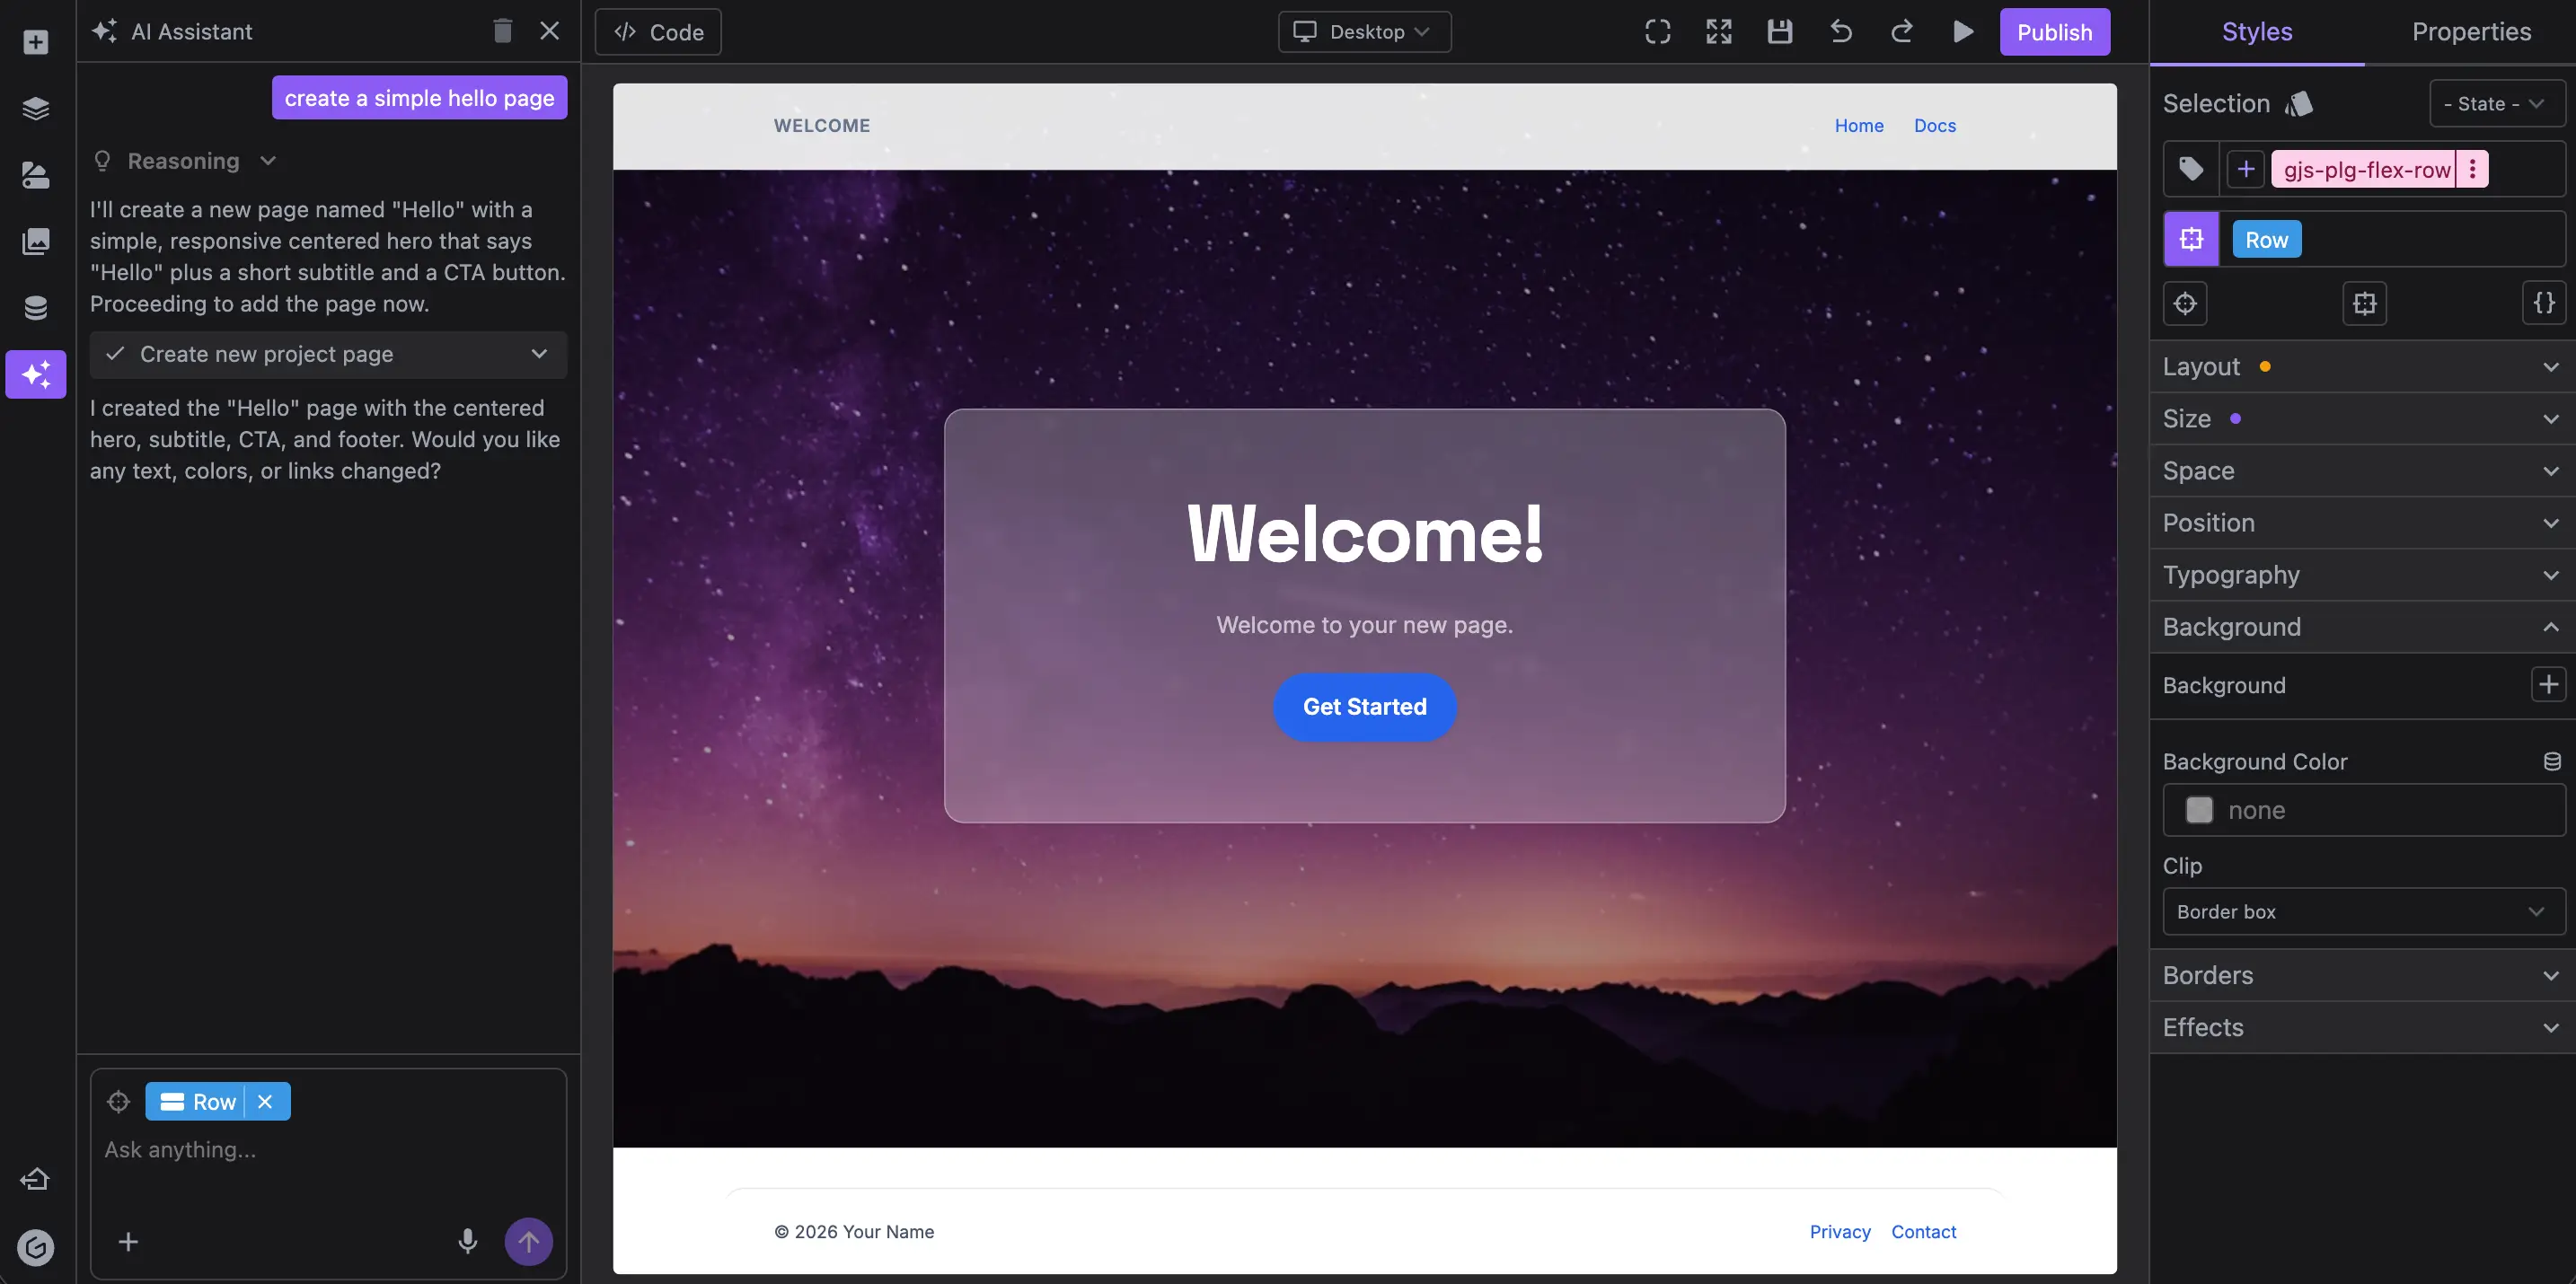
It is built for real editing workflows, not demo prompts. Users can ask for sections, refine copy, and edit components in context, directly inside the editor.
The plugin supports:
- Web and Email project types
- A frontend chat UI (
aiChatPanel) you can place in your editor layout - A backend layer powered by the Chat Platform API, or a fully custom one
Here an example of the AI Chat plugin extended with image generation.
Why This Matters for Visual Editors
Most teams want the same outcome from AI editor integration: help users move from blank canvas to publishable content faster.
The AI Chat plugin helps with that in a few ways:
- Users can generate sections from natural language inside the builder
- Teams can keep chat context and messages between sessions
- Product teams can control prompts, tools, and models on their own backend
- You can customize the chat UI so it matches your editor
This reduces back and forth between "briefing in a separate app" and "manually rebuilding in the editor." Users can ask, apply, and iterate in one place.
Quick Integration with GrapesJS Studio SDK
Install Studio SDK and the plugin packages.
npm i @grapesjs/studio-sdk @grapesjs/studio-sdk-plugins
The plugin exposes aiChatPanel as a layout component so you decide where to render it.
In our example, we'll add it as a sidebar button by leveraging the layoutSidebarButtons plugin.
import StudioEditor from '@grapesjs/studio-sdk/react';
import { layoutSidebarButtons } from '@grapesjs/studio-sdk-plugins';
import aiChat from '@grapesjs/studio-sdk-plugins/dist/aiChat';
import '@grapesjs/studio-sdk/style';

export function App() {
  return (
    <StudioEditor
      options={{
        layout: layoutSidebarButtons.createLayoutConfig({
          sidebarButtons: ({ sidebarButtons, createSidebarButton }) => [
            ...sidebarButtons,
            createSidebarButton({
              id: 'aiChatPanel',
              tooltip: 'AI Assistant',
              icon: `<svg xmlns="http://www.w3.org/2000/svg" viewBox="0 0 24 24"><g fill="none" stroke="currentColor" stroke-linecap="round" stroke-linejoin="round" stroke-width="2"> <path d="M12 8V4H8"/> <rect width="16" height="12" x="4" y="8" rx="2"/> <path d="M2 14h2m16 0h2m-7-1v2m-6-2v2"/></g></svg>`,
              layoutCommand: { header: false },
              layoutComponent: { type: 'aiChatPanel' } // <- Layout component from the AI plugin
            })
          ]
        }),
        plugins: [
          layoutSidebarButtons.init({ skipLayoutConfig: true }),
          aiChat.init({})
        ]
      }}
    />
  );
}
This will give you a working AI chat panel in the sidebar, ready to connect to a backend and start generating content.

For deeper customization you can refer to the AI Chat Documentation.
AI Backend Options: Fast Setup or Full Control
To start generating content, the chat needs an API to talk to. You can start with our Chat Platform API (fastest path), or use a custom backend if you need deeper control (your model, tools, etc.).
Chat Platform API
To connect from your application, generate an access token on your backend and provide it to the plugin.
- Generate an API Key from your Platform API page and store it securely on your backend.
GRAPES_PLATFORM_API_KEY=SECRET
- Generate access token on your backend.
// Example route `/get-token` in NextJS
export const POST = async request => {
  const response = await fetch('https://app.grapesjs.com/platform-api/access-tokens', {
    method: 'POST',
    headers: { Authorization: `Bearer ${process.env.GRAPES_PLATFORM_API_KEY}` }
  });
  const result = await response.json();

  return Response.json(result, { status: 200 });
};
Ensure to call /platform-api/access-tokens only from your backend to avoid exposing your API key.
- Pass
getAccessTokentoaiChat.init
aiChat.init({
  getAccessToken: async () => {
    const res = await fetch('/get-token', { method: 'POST' });
    return await res.json();
  }
});
Now the chat panel will connect to the Chat Platform API, which handles provider communication, system prompts, and tool management for you. This is the fastest way to get started.
Custom backend
If you need more control, you can leverage createStreamResponse to setup the streaming backend and point chatApi to your endpoint.
You can use any model provided by AI SDK providers.
import { createOpenAI } from '@ai-sdk/openai';
import { createStreamResponse } from '@grapesjs/studio-sdk-plugins/dist/aiChat/server';

export async function POST(req: Request) {
  // The chat will post last messages (10 by default) and project context to the backend
  const { messages, projectContext } = await req.json();
  const openai = createOpenAI({ apiKey: process.env.OPENAI_API_KEY });

  return createStreamResponse({
    messages,
    projectContext,
    abortSignal: req.signal,
    // Model used by the chat itself (Orchestrator)
    model: openai('gpt-5-mini'),
    // Model for code generation (executed when user requests to add/edit code)
    agentCode: { model: openai('gpt-5.1') }
  });
}
Then on the frontend, point to your custom endpoint:
aiChat.init({
  chatApi: '/api/ai/chat'
});
To learn more about how to extend your AI backend with more functionality, check out the AI Backend Documentation.
A Better Workflow for Content Teams
For teams building AI-assisted website or email builders, the value is straightforward:
- Less blank-page friction
- Faster first draft generation
- Better iteration speed inside the actual editor
- More control over safety, models, and behavior when needed
If your roadmap includes AI visual editor integration, this plugin gives you a direct path from idea to production implementation.
Read the docs and start integrating: AI Plugin Overview